Guide for Making a Tie Dye Nail Art Masterpiece
Tie dye is a popular and timeless trend that has made a comeback in recent years. It’s a fun and easy way to add some color and personality to your wardrobe. But why limit tie dye to just clothing? Nail art has become increasingly popular in recent years and tie dye is a perfect way to add some creative flair to your nails. Tie dye nail art is a unique and eye-catching style that is perfect for summer, music festivals, or any occasion where you want to stand out.
Step by Step Guide to Tie Dye Nail Art
If you’re looking for a fun and unique way to add some creativity to your nail routine, tie dye nail art is the perfect way to do it. Here’s a step by step guide to help you achieve a stunning tie dye nail art masterpiece.
Applying the Base Coat
The first step to any nail art is applying a base coat. This step is essential as it helps to protect your nails and creates a smooth base for the tie dye design. Apply your favorite base coat and let it dry completely before moving on to the next step.
Preparing the Tie Dye Mixture
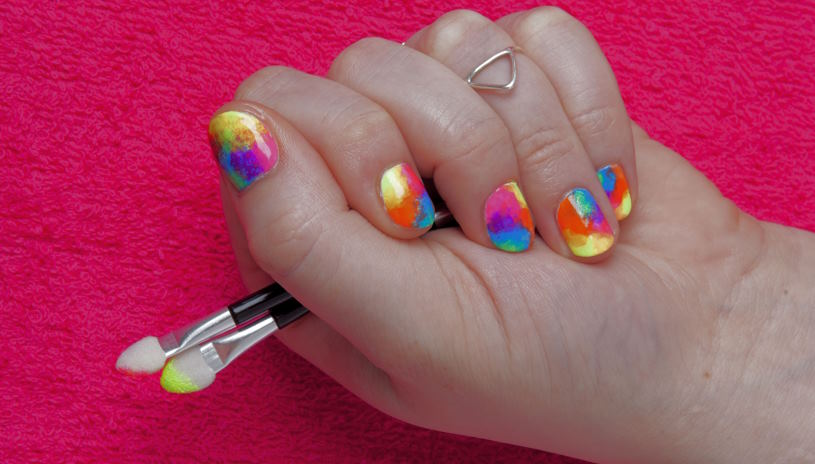
To create the tie dye effect, you will need to create a mixture of water and nail polish. Here’s how you can prepare it:
-
 Fill a plastic cup with room temperature water.
 - Choose your desired nail polish colors and add a few drops of each to the water.
- Use a toothpick to swirl the colors together and create a marbled effect.
Applying the Tie Dye
Once you’ve created your tie dye mixture, it’s time to apply it to your nails. Follow these steps:
- Dip your fingers one by one into the mixture and hold them there for 5-10 seconds.
- Remove your fingers from the mixture and use a cotton swab to wipe off any excess polish from your fingers.
- Repeat the process for all your nails.
Adding Details
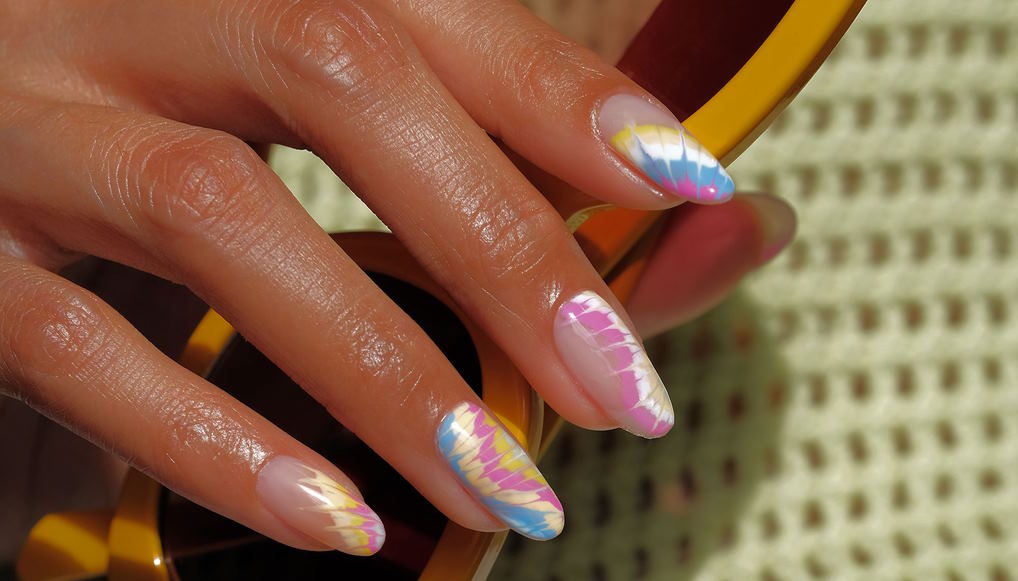
To make your tie dye nail art stand out, you can add some accents and details. Use a toothpick to create swirls, dots, or any other designs that you like. You can also add some glitter or rhinestones for some extra sparkle.
Applying the Top Coat
Once you’re happy with your design, it’s time to seal it with a top coat. The top coat not only protects your design but also gives it a smooth and glossy finish. Here are some tips for applying a top coat:
- Wait until your tie dye design is completely dry before applying the top coat.
- Apply a thin layer of top coat and let it dry completely before applying a second coat.
- Use a fast-drying top coat to speed up the drying process.
Tips and Tricks for Perfecting Tie Dye Nail Art
Creating tie dye nail art can be a fun and exciting way to express your creativity. However, it may take a few tries before you get it just right. Here are some tips and tricks to help you perfect your tie dye nail art:
Nail Length and Shape
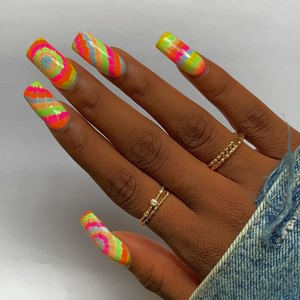
Before you start your tie dye design, consider the length and shape of your nails. Long, oval-shaped nails are ideal for this type of nail art as they provide a larger canvas to work with. However, tie dye designs can look great on any nail length and shape, so experiment and find what works best for you.
Consistency of the Tie Dye Mixture
The consistency of your tie dye mixture is crucial to achieving the desired effect. If the water is too hot, the nail polish will dry too quickly, making it difficult to create a swirl pattern. If the water is too cold, the nail polish may not spread evenly. Room temperature water is the ideal temperature for creating a tie dye mixture.
Timing and Patience
Patience is key when it comes to tie dye nail art. Take your time and don’t rush the process. Make sure to let each layer of polish dry completely before moving on to the next step. If you rush, you may end up smudging your design and ruining all your hard work.
Nail Polish Quality
The quality of your nail polish can greatly affect the outcome of your tie dye design. Invest in good quality nail polish that is long-lasting and dries quickly. This will make it easier to create a smooth and even finish. Cheap nail polish may not spread evenly, making it harder to achieve the desired effect.
Practice and Experimentation
The more you practice, the better you will become at creating tie dye nail art. Experiment with different color combinations and designs to find your perfect style. Don’t be afraid to try new things and add your own personal touch. The possibilities are endless, and with practice, you will be able to create stunning tie dye nail art designs that are uniquely yours.